What Drawing App Does Shin Art Use
Clip Studio Paint | Tablet Version Introduction!
3,602
Hello, everyone! Bon is reporting to duty!
Today's tutorial is slightly different from the previous videos as I'll be sharing everything I know about Clip Studio Paint the tablet version. I've been using CSP on my iPad Pro close to 4 months now and my work is completely done on tablet. So, I'll be doing a brief walkthrough, how to rearrange your workspace and how to create a clean timelapse for your work on CSP!
Brief Walkthrough
Unlike the pc version, the tablet version is a subscription based app. They offer a range of payment plan based on the versions, number of device and the billing frequency.
Here's the current payment plan available. I'm currently subscribed to a pro version, single device and paid monthly. It costs me less than $5 per month.
* The annual plan offers great discount, so I do recommend it if you have sufficient money. I'm thinking of changing my plan to annual billing as well!
Now let's open the app!
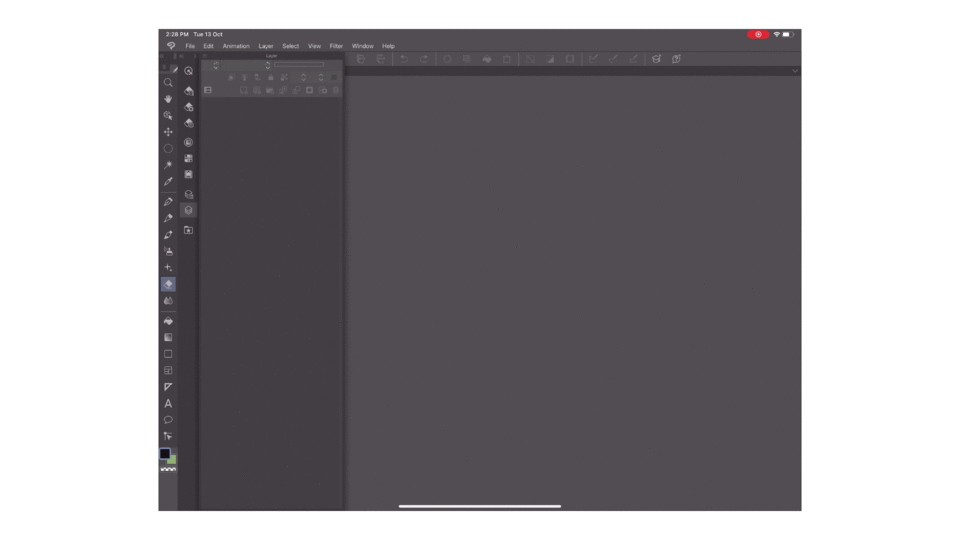
As you can see, the layout is identical to the pc version.
1. The top row is the menu bar. From creating a new files to layer adjustments are located in this row.
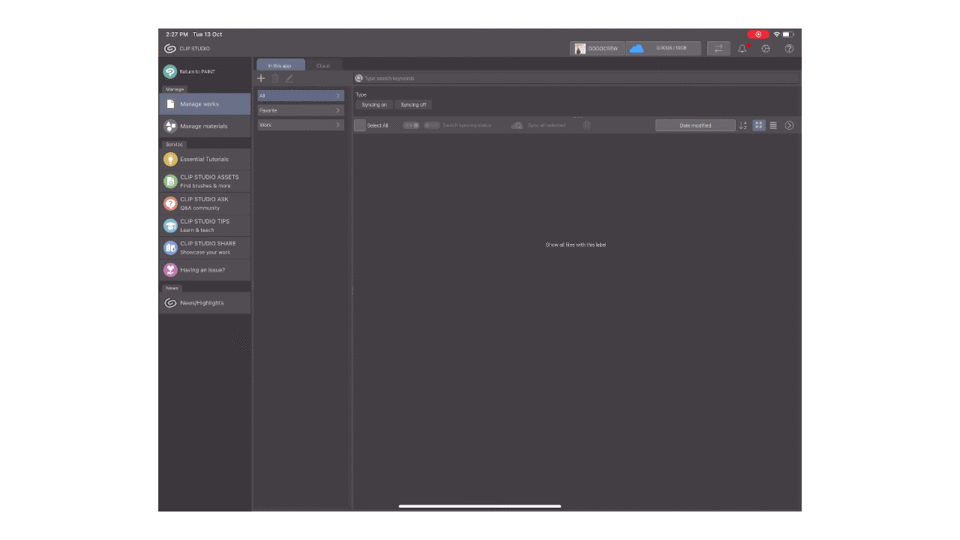
2. If you're looking for your work, material and clip services , click on the circled button.
You'll be directed to this page. Let's say your looking to download new materials, just click the necessary button and it'll direct you to the website!
3. On the left side, the tool bars along with other buttons such as the colour wheel and layers are located here.
4. The large chunk of space remaining is where you'll have your canvas to work on.
While the default layout is fine, I do like to change it a bit to fit my needs. I prefer to have all the necessary bars such as the colour wheel and layers to be shown instead of hidden while maintaining a good space for my canvas.
Workspace Rearrangement
To rearrange the layout is easy!
All you gotta do is drag and until a red/black bar appears, drop the bars to the location you want.
I do prefer to have sub view to be shown as well. Sub view is a good way to place your reference, plus you can hover over it to colour pick!
ADDING NEW TOOLS
1. Now, to make it displayed, go to the window button. You'll see a bunch of options available. The options with tick mark indicate that they're already displayed on the workspace.
2. The sub view option can be found on the bottom row. Click on it and it'll appear on the workspace!
SAVING WORKSPACE
Once you're satisfied with the layout, you can save it by register the workspace.
1. Click on the window button, you'll see workspace option.
2. Click on the workspace button and you'll see a number of options.
3. Choose the register option button and rename it!
* There are other default options prepared as well such as workspace mainly for illustration and comic. You can try them to see if either are fit to your preference.
If you'd like to use the workspace I rearranged, you can download it here!
Creating Timelapse I: Canvas Preparation
* I recommend watching the video for this segment for better understanding!
Making timelapse for your work in CSP is possible. For me, I prefer a clean timelapse with no transform action shown in it as it fits the video format for my tutorial videos.
But first, prepare your clip file. If you like to have your timelapse fill the video frame later on, I recommend a full hd preset so that you won't waste too much time on editing later on.
* Don't forget to turn on your recording app!
There are 2 ways to achieve clean timelapse.
1. Full static canvas
2. 2 windows, 1 file
I'll explain the first option first.
FULL STATIC CANVAS
Just as the name suggested, you'll be working on a canvas without "touching" them. No scaling and rotation.
* I do suggest this option if you're confident beforehand that your work won't require these transform action!
* Mistakes can happen. Perhaps your finger accidentally brushed the canvas and rotate/scale it a bit. You can always change the value back, make sure that you remember these values.
The first option can be hard for the first few times. I do suggest it if you prefer to work on a bigger canvas, practice will certainly help!
2 WINDOWS, 1 FILE
This alternative is good if you like to mess around with your canvas, just like me.
1. Prepare a new window! Go to window button and click on the first option (Canvas) then choose new window.
You'll see a new window bar pops up! So now you have 2 windows of the same file.
2. Then, display both windows side by side. Fix the canvas on the new window(left) so that it can be fully displayed.
*You can probably guess by now that the left window will be the timelapse window, and the right one is the working canvas. You can finally transform the working canvas however you want!
* Hide the tool bars to maximise the canvas space. You can always display it by clicking the double arrow buttons.
Next I'd like to share how to edit your clips!
Creating Timelapse II: Editing
Import the recorded clips into your editing app.
In this part you'll only need to do 2 things,
1. Resize video
2. Speed up video
Resize your clips to fit in the video frame. I usually use 16:9 ratio for my tutorials. Depending on the recording and editing apps used, the quality of the clip may differ. For me, my clips don't look blur even after resizing fortunately.
Next, speed up the clips. I recommend to experiment different speed just to get your preferred pace.
To edit a clip from the alternative option(2 windows, 1 file), add 1 more step.
1. Change the video orientation
2. Resize video
3. Speed up video

This is what the timelapse would look like!
* If you feel like your clip has a lot of idle frames (sometimes we take breaks while drawing, so these moments may cause the idle frames) you can cut those out during editing for a smoother timelapse.
Wrap Up
I hope this video is useful to you guys, whether you're still thinking of getting the tablet version, how to modify your workspace layout or you're thinking of sharing your work process through timelapse.
If you have any question, don't hesitate to ask and thanks for reading!
Users who liked this post
Source: https://tips.clip-studio.com/en-us/articles/3831
0 Response to "What Drawing App Does Shin Art Use"
Post a Comment